Manifold Absolute Pressure sensors
| Vehicle | OEM MAP | Approx. Max Bar |
|---|---|---|
| Audi S4 02-23 | 3 Bar | ~1.6 Bar |
| BMW 335i 07-15 | 3 Bar | ~1.4 Bar |
| Camaro Supercharged 16-23 | 3 Bar | ~1.6 Bar |
| Challenger Supercharged 15-23 | 3 Bar | ~1.8 Bar |
| Evo (all) | 3 Bar | ~1.8 Bar |
| MKIV Supra | 3 Bar | ~1.6 Bar |
| WRX 02-21 | 3 Bar | ~1.5 Bar |
About: This section covers Manifold Absolute Pressure sensors. Not all vehicles are equipped with these — only a few turbocharged/supercharged models. You can add these sensors to an aftermarket ECU known as "Engine Management".
Wiring:
- 5V: This connects to the 5V power supply from the ECU the sensor is wired to.
- Sensor ground: This needs to be shared sensor ground, not chassis ground.
- Signal wire: This connects directly to the ECU (analog voltage output).
Troubleshooting:
- If the sensor is showing 0V, check your signal wire or 5V connection.
- If it is showing 5V, check your sensor ground connection.
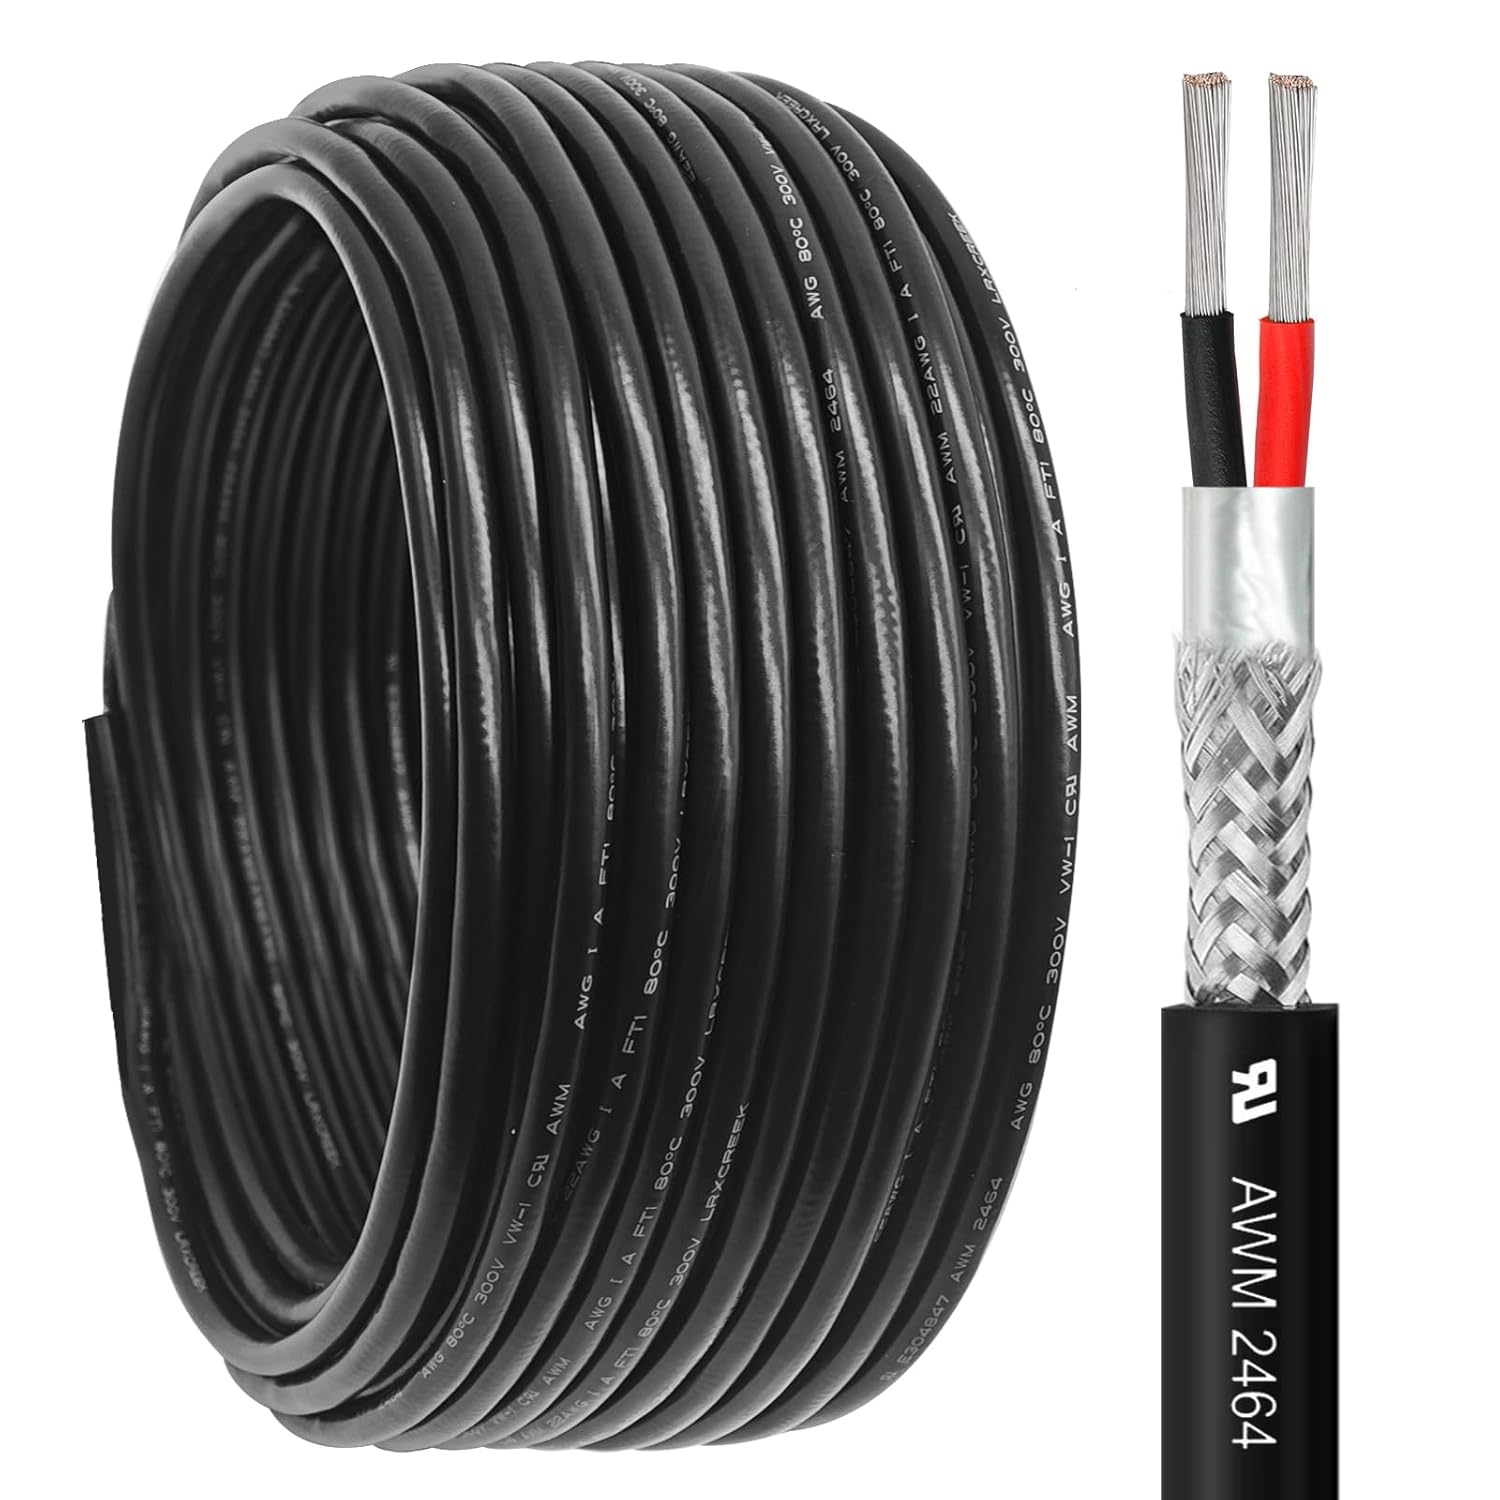
20/2 Shielded Wire 30FT 20 Gauge 2 Conductor Wire, UL2464 20 AWG Chain CNC Tinned Copper Cable for CNC Router Machine, CNC Spindle, Microphone, 3D Printer
Buy on Amazon As an Amazon Associate I earn from qualifying purchases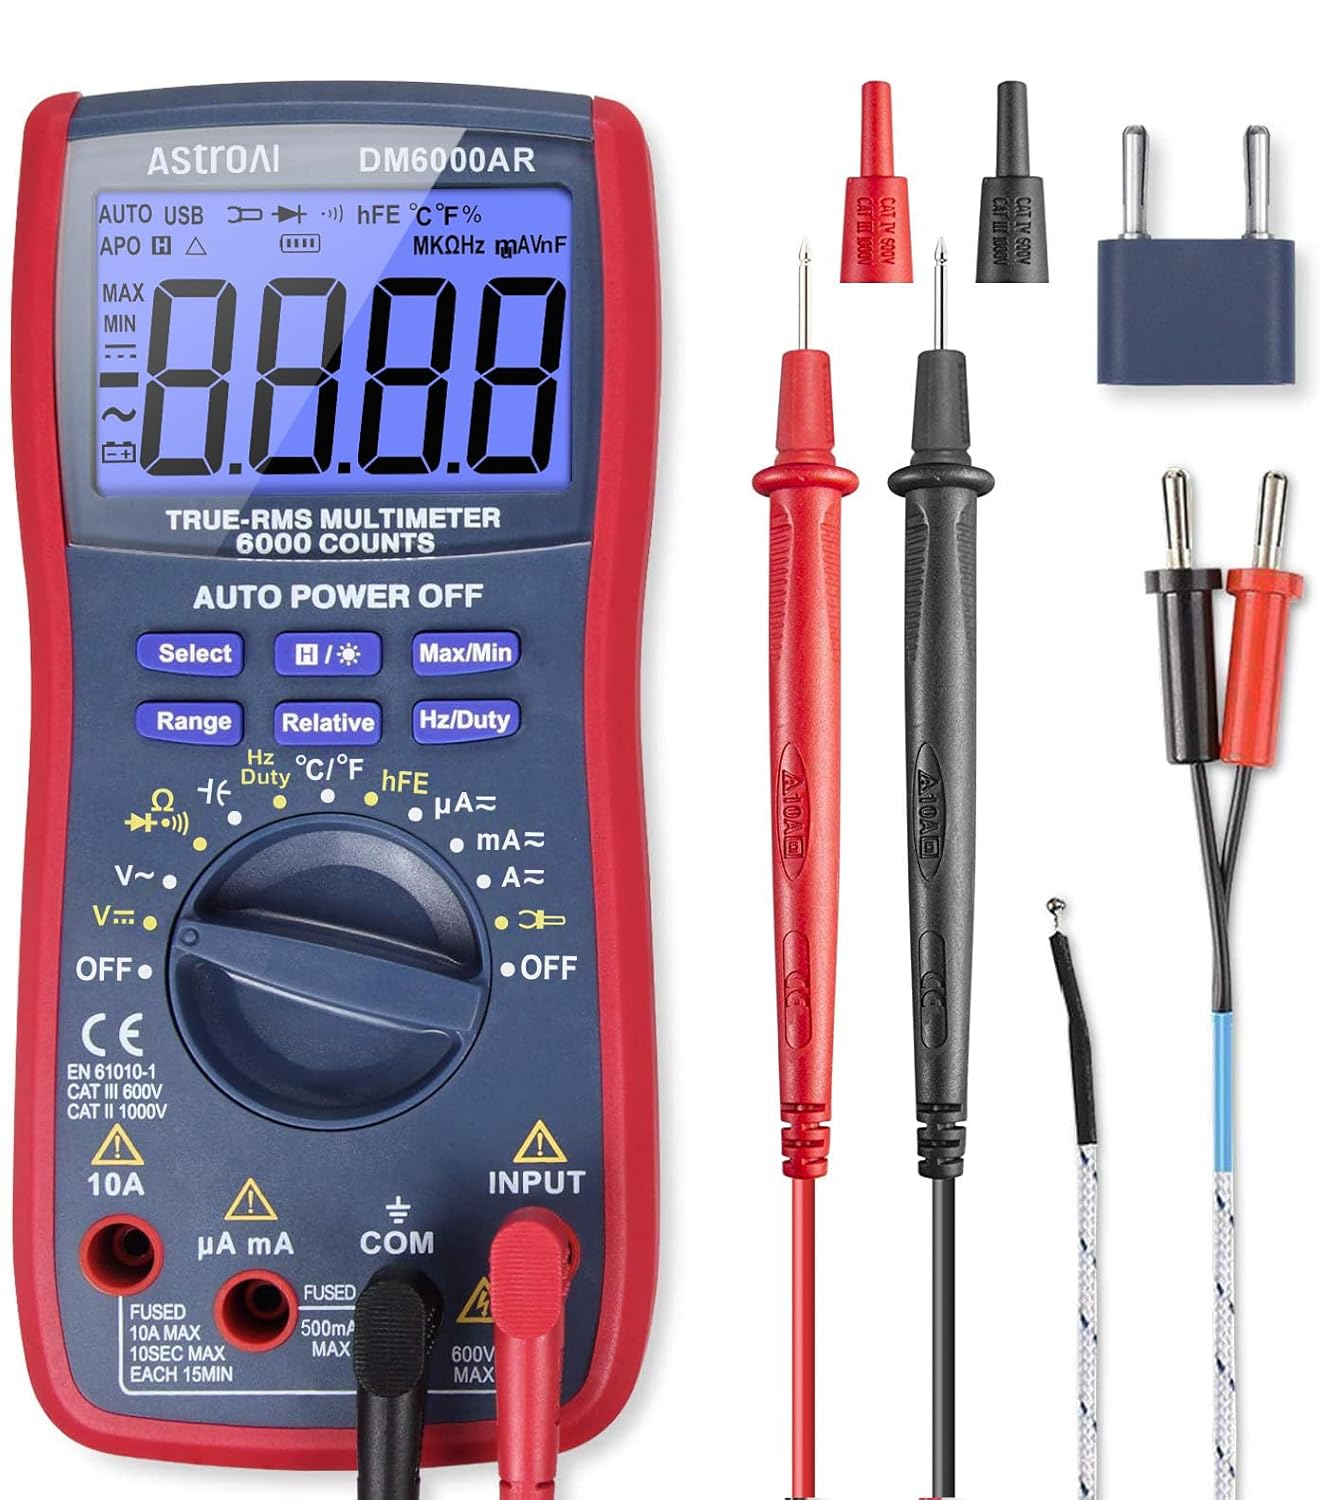
AstroAI Digital Multimeter and Analyzer TRMS 6000 Counts Volt Meter Ohmmeter Auto-Ranging Tester; Accurately Measures Voltage Current Resistance Diodes Continuity Duty-Cycle Capacitance Temperature
Buy on Amazon As an Amazon Associate I earn from qualifying purchases
400 Pcs Heat Shrink Tubing Kit-3:1 Ratio Adhesive Lined,Marine Grade Shrink Wrap - Industrial Heat-Shrink Tubing - Black
Buy on Amazon As an Amazon Associate I earn from qualifying purchases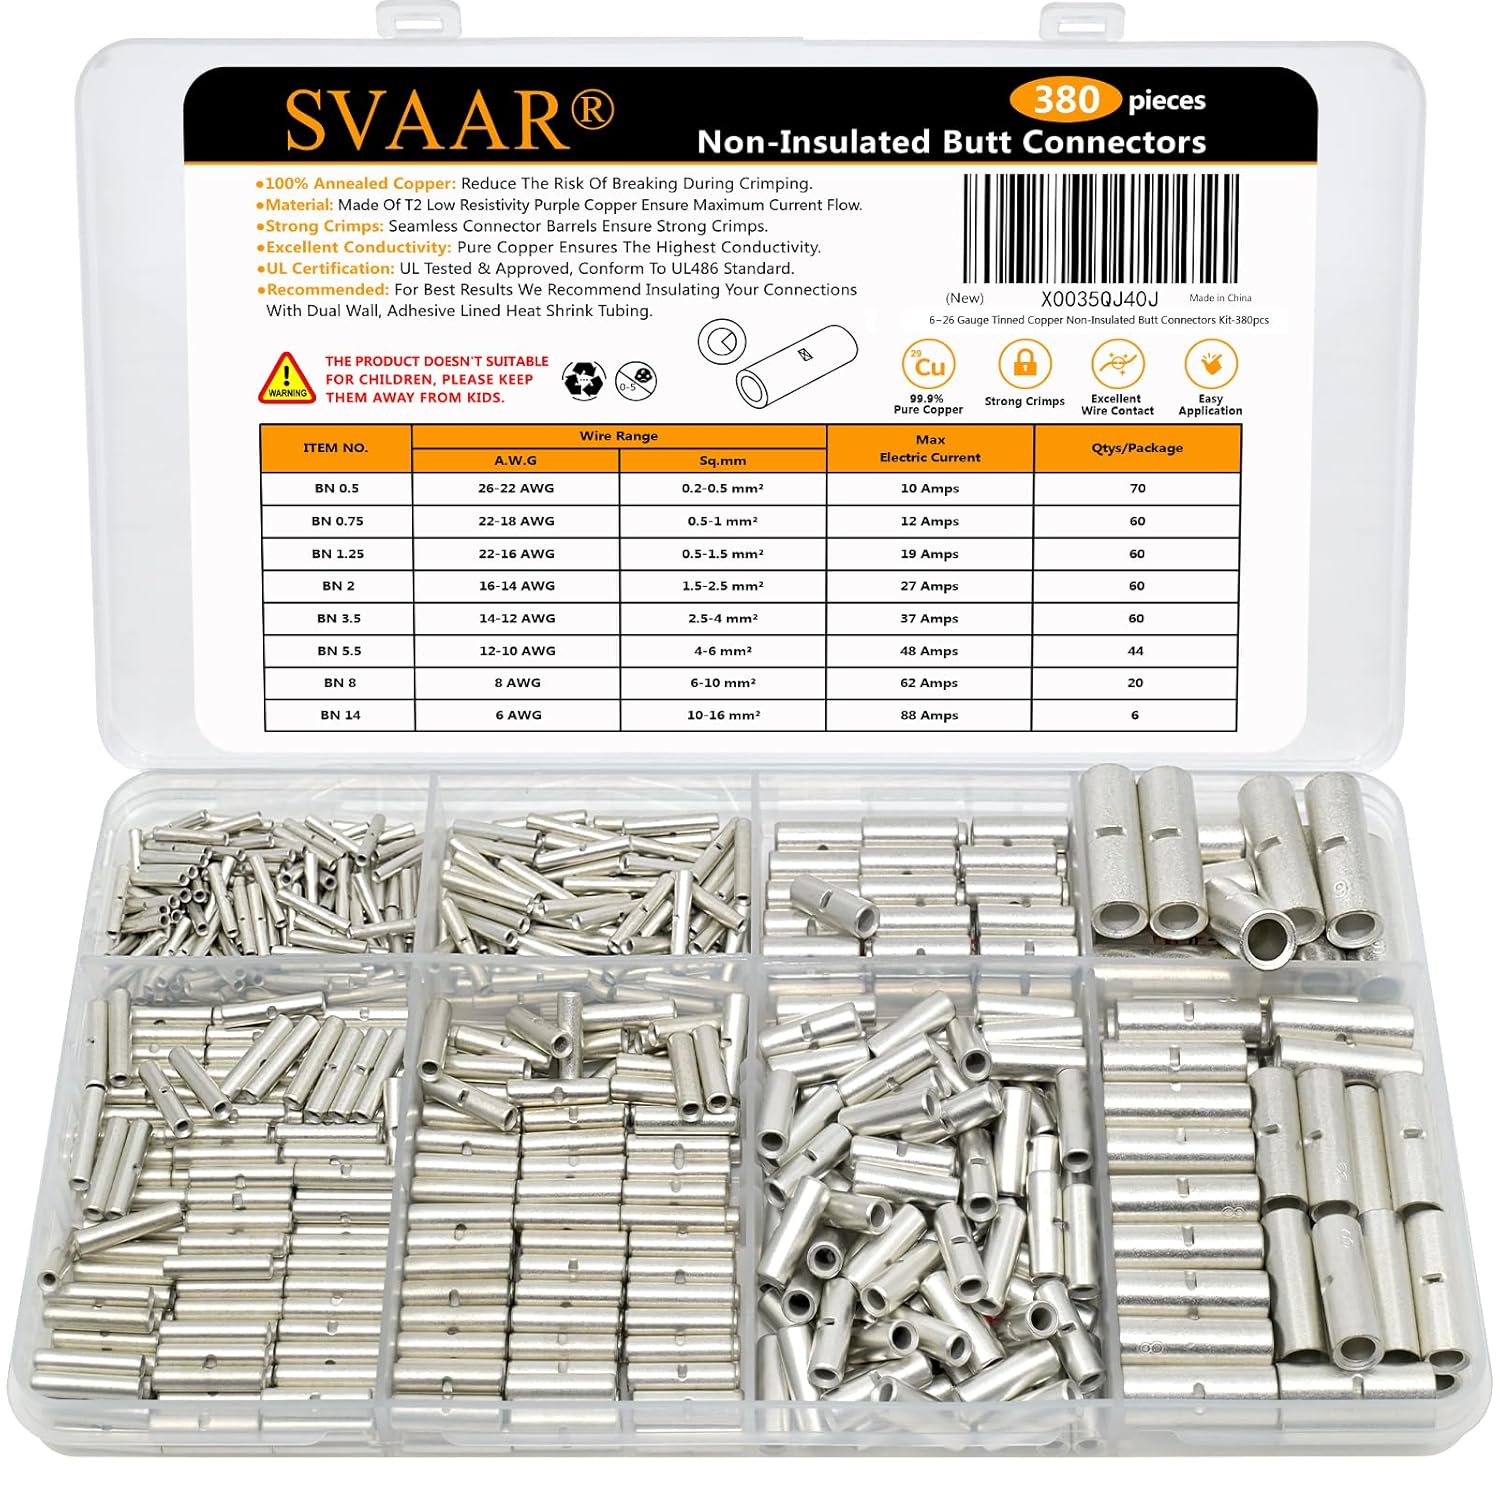
SVAAR 380PCS Non Insulated Butt Connectors Kit Butt Splice Connector Uninsulated Wire Splice Connectors for 26 to 6 Gauge Wire Marine Grade Tinned Copper Seamless Barrel Crimp Butt Splice Terminals
Buy on Amazon As an Amazon Associate I earn from qualifying purchases
Hantek 1008C PC USB 8CH Automotive Diagnostic Digital Oscilloscope/DAQ/Programmable Generator
Buy on Amazon As an Amazon Associate I earn from qualifying purchases
20/2 Shielded Wire 30FT 20 Gauge 2 Conductor Wire, UL2464 20 AWG Chain CNC Tinned Copper Cable for CNC Router Machine, CNC Spindle, Microphone, 3D Printer
Buy on Amazon As an Amazon Associate I earn from qualifying purchases
AstroAI Digital Multimeter and Analyzer TRMS 6000 Counts Volt Meter Ohmmeter Auto-Ranging Tester; Accurately Measures Voltage Current Resistance Diodes Continuity Duty-Cycle Capacitance Temperature
Buy on Amazon As an Amazon Associate I earn from qualifying purchases
400 Pcs Heat Shrink Tubing Kit-3:1 Ratio Adhesive Lined,Marine Grade Shrink Wrap - Industrial Heat-Shrink Tubing - Black
Buy on Amazon As an Amazon Associate I earn from qualifying purchases
SVAAR 380PCS Non Insulated Butt Connectors Kit Butt Splice Connector Uninsulated Wire Splice Connectors for 26 to 6 Gauge Wire Marine Grade Tinned Copper Seamless Barrel Crimp Butt Splice Terminals
Buy on Amazon As an Amazon Associate I earn from qualifying purchases
Hantek 1008C PC USB 8CH Automotive Diagnostic Digital Oscilloscope/DAQ/Programmable Generator
Buy on Amazon As an Amazon Associate I earn from qualifying purchasesOil pressure Sensors
About: Most vehicles from the factory will have oil pressure switches that will trigger a low oil pressure warning on your dash below approx 7-10 PSI (~0.5-0.7 Bar). This section covers oil pressure sensors on vehicles as they were from the factory (analog voltage output types, common in many modern OEM setups).
Wiring: The same wiring mentioned in the MAP section above applies to this sensor:
- 5V: Connects to the 5V power supply from the ECU.
- Sensor ground: Must be shared sensor ground (not chassis ground).
- Signal wire: Connects directly to the ECU (analog voltage output).
Troubleshooting: The same troubleshooting steps mentioned in the MAP section above can be followed:
- If the sensor is showing 0V, check your signal wire or 5V connection.
- If it is showing 5V, check your sensor ground connection.
| Vehicle | Voltage Range | Pressure Range |
|---|---|---|
| Audi S4 09-16 | 0.5v-4.5v | 0-145 PSI |
| BMW 335i 07-15 | 0.5v-4.5v | 0-145 PSI |
| Camaro 16-23 | 0.5v-4.5v | 0-145 PSI |
| Challenger 08-23 | 0.5v-4.5v | 0-145 PSI |
| VW Golf 15-21 | 0.5v-4.5v | 0-145 PSI |
Power Steering Press. Sensors
| Vehicle | Voltage Range | Pressure Range |
|---|---|---|
| Infinity G35 (03-08) | 0.5v-4.5v | 0-130 PSI |
| Lexus GS300 | 0.5v-4.5v | unknown PSI |
| Lexus IS300 | 0.5v-4.5v | unknown PSI |
| Nissan 350Z(03-08) | 0.5v-4.5v | 0-130 PSI |
| Nissan 370Z(09-20) | 0.5v-4.5v | 0-130 PSI |
About: Most vehicles from the factory will have P/S pressure switches that help to raise idle slightly when the wheels are turned. This section covers power steering pressure sensors on vehicles as they were from the factory.
Older vehicles used a vacuum switch that would raise the idle when the wheel was turned by opening a port that connected a vacuum line in and out of the power steering switch.
Newer vehicles detect power steering pressure via a sensor or switch and send that data to the ECU for the idle to be raised (common in modern drive-by-wire setups).
Wiring: The same wiring mentioned in the MAP section above applies to this sensor:
- 5V: Connects to the 5V power supply from the ECU.
- Sensor ground: Must be shared sensor ground (not chassis ground).
- Signal wire: Connects directly to the ECU (analog voltage or switch output).
Troubleshooting: The same troubleshooting steps mentioned in the MAP section above can be followed:
- If the sensor is showing 0V, check your signal wire or 5V connection.
- If it is showing 5V, check your sensor ground connection.
Adding a fuel or oil pressure sensor
Requirements: The main requirement for this is a standalone pressure gauge OR a full replacement programmable engine computer known as "engine management".
Wiring: There are 5 wires (typically +5V, sensor ground, signal, and sometimes power/ground variations — but core three are 5V, sensor ground, and signal).
All of the data needed for wiring and configuration can be found in the datasheet that will come with your sensor.
It's important that your sensor ground is connected to the same device receiving the signal from the sensor:
- If you're using a standalone gauge, connect the sensor ground to that gauge's sensor ground.
- If you're connecting this to engine management, connect the sensor ground to the ECU's sensor ground.
Wire gauges: This can be 18 or 20 AWG depending on the amp draw — consult your datasheet or mimic the OEM wire gauge for pressure sensors.
Shielding is not necessary for most fluid pressure sensors (unlike crank/cam or wheel speed sensors).
Which sensor do I buy? The sensor in the adjacent picture is a Haltech HT-010904 (150 PSI) fluid pressure sensor, but research your expected oil pressure, fuel pressure, (or even power steering or transmission line pressure) and buy a sensor that covers your range (e.g., 0–100 PSI for oil, 0–150 PSI for fuel, etc.).
Configuration: The configuration is mentioned below regarding all of these pressure sensors (same as MAP/oil pressure: analog voltage scaling in ECU or gauge software).
• Requirement: Standalone gauge OR aftermarket ECU/engine management
• Wiring: 3-core (+5V, sensor ground, signal) — match datasheet pinout
• Ground: Always to same device receiving signal (gauge ground or ECU sensor ground)
• Gauge: 18–20 AWG typical — no shielding needed
• Sensor choice: Match range (e.g., Haltech HT-010904 150 PSI for fuel/oil)
• Config: Linear voltage scaling (check datasheet for PSI-to-volt table)
Use ECU analog input or dedicated gauge — verify ground sharing to avoid offset errors.

Configuration
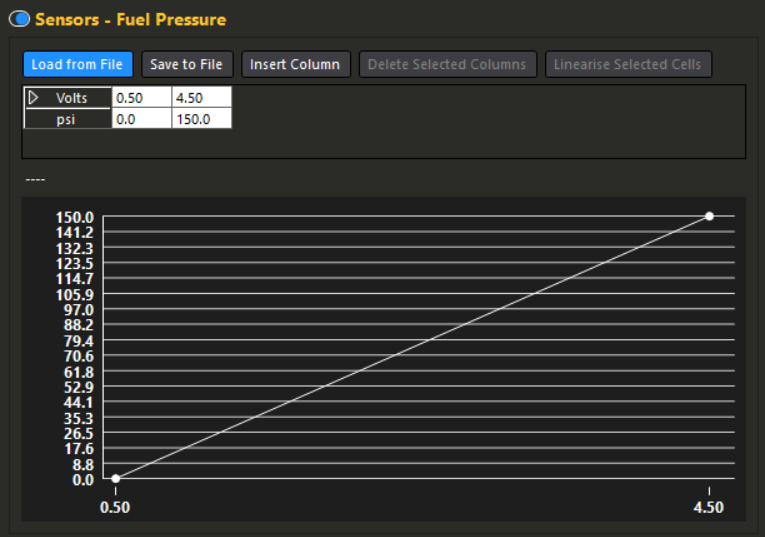
Overview: The adjacent picture shows a fuel pressure sensor configuration (software is Haltech NSP), but the same configuration steps can be followed for MAP, P/S, Coolant Pressure, Oil Pressure, Transmission Line Pressure, etc.
Volts: Input data into the white boxes beside the "Volts" text. Generally the values in here will be 0.5 to 4.5, but consult your datasheet that came with your sensor for the exact voltage-to-pressure table.
PSI: I have entered my data in PSI. If you're using Haltech, you can change the measured units under 'preferences > units' at the top banner.
If your datasheet shows PSI, Bar, kPa, etc., then switch your unit preferences to reflect the units on your datasheet. Once you've done this, input the data. After this you can switch back to other units and the Haltech software will automatically convert the values.
Pull-up resistor: A pullup resistor should not be needed to be wired in (or enabled in the software), but consult your datasheet to verify — most modern analog pressure sensors output a clean voltage signal without requiring pullup.
• Set units to match datasheet (PSI/Bar/kPa) under preferences > units
• Enter Volts vs. Pressure points from datasheet into table (typical: 0.5V low → 4.5V high)
• Input accurately — software auto-converts if you switch units later
• Pullup: Usually OFF/disabled — confirm with sensor datasheet
• Test: Key on → check live value (e.g., ~0.5V at 0 PSI, higher with pressure applied)
Match datasheet exactly → accurate readings prevent lean conditions (fuel pressure) or false warnings (oil).
Why add fuel, Coolant or oil pressure sensors?
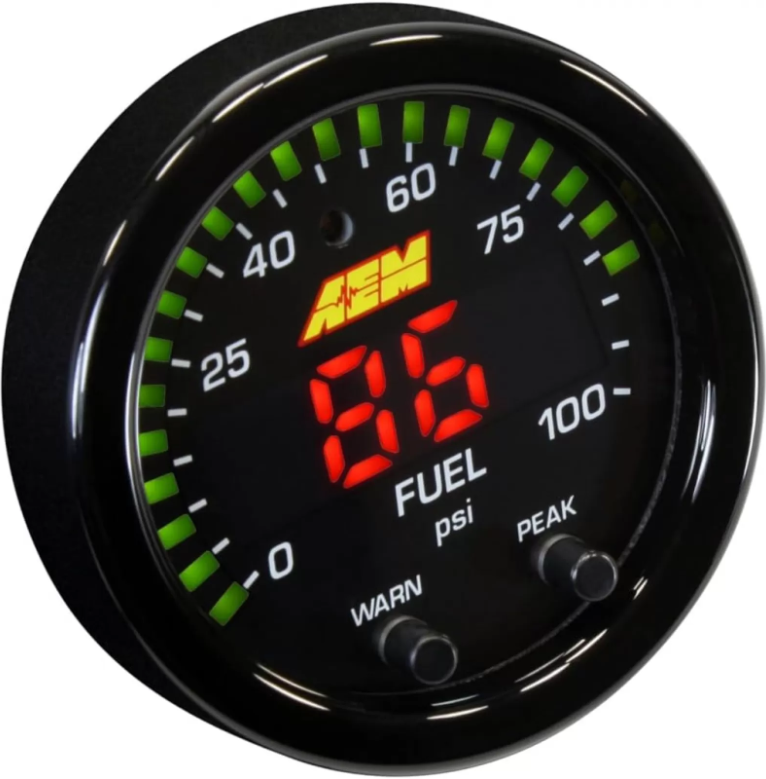
Important Info on gauges: The AEM X-Series gauge in the adjacent picture should not be relied on if you're expecting to save your engine from catastrophic damage.
The gauge does have a data output, but the processing of the information before it relays it to your engine management can potentially be too slow if the fuel pressure drops, resulting in a lean condition before your ECU takes action.
Other gauges are similar in terms of processing data and relaying it to an ECU. If you can, wire it directly to your aftermarket ECU for faster response and safety protection.
Coolant Pressure Sensor: This is a little-known sensor that can be added to your engine to notify you if your head gasket is leaking under high boost. I've found it to be slightly scary under normal driving, since the coolant pressure has a tendency to drop when the thermostat opens. In my Haltech diagnostics for this sensor I have a CEL set to trigger if it rises over my normal PSI.
Fuel Pressure Sensor: This can be used as a safety measure in the event that you're accelerating under full boost and a fuel pump fails. The ECU senses a drop in pressure and can limit throttle immediately to avoid leaning out.
Oil Pressure Sensor: For the same reasons mentioned above, this sensor can add a little more safety to your engine by detecting if your oil pressure ever drops.
Other pressure sensor uses:
- Crankcase pressure to monitor excessive pressure under high boost
- Transmission line pressure
- Barometric pressure (useful if you drive the car in massive elevation differences)
• Gauges (e.g., AEM X-Series): Nice for display — but too slow for ECU protection → wire sensor direct to ECU for fast shutdown/limiting
• Coolant pressure: Detects head gasket leaks under boost → set high-PSI CEL trigger
• Fuel pressure: Pump failure safety → ECU cuts throttle on drop to prevent lean detonation
• Oil pressure: Low-pressure protection → same ECU safety logic
• Extra uses: Crankcase (boost leaks), trans line (shift quality), baro (altitude compensation)
Direct ECU wiring + proper calibration = real engine-saving protection over standalone gauges.